Module 1: Your New Coding Environment
(Estimated Time: 45 minutes)
Learning Objective: Understand what Cursor is, install it, and get comfortable with the interface. The goal is to remove the initial intimidation of a code editor.
1.1: What is an “AI-First” Code Editor?
- Explanation: The difference between a text editor (like Notepad), a code editor (like VS Code), and an AI-first editor (Cursor).
- The Core Idea: Cursor is your personal coding assistant, ready to answer questions, write code for you, and fix your mistakes.
1.2: Installation and First Launch
- A simple, step-by-step visual guide to downloading and installing Cursor on Windows and macOS.
- A quick tour of the user interface: The file explorer, the main editing window, and the most important part—the AI Chat panel.
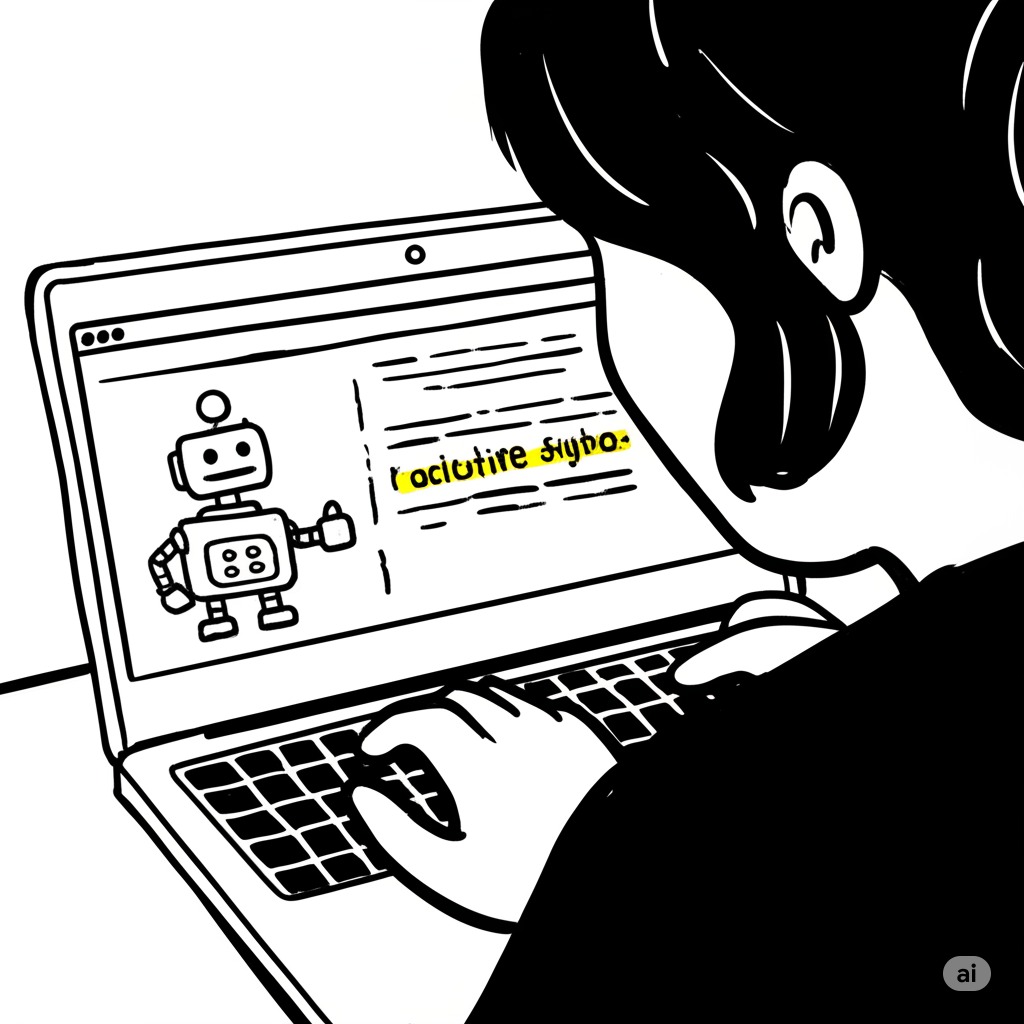
1.3: Your First Conversation with the AI
- Activity: Create a new file named hello.txt.
- Guided Exercise: In the chat panel, ask the AI a question like, “What is the purpose of this file?” or “Tell me a joke.” The goal is simply to interact with the AI for the first time.
Module 2: The Three Core AI Superpowers
(Estimated Time: 1.5 hours)
Learning Objective: Master the three fundamental ways to use AI in Cursor: generating new code, editing existing code, and chatting with your codebase.
2.1: Generating Code from Zero (Cmd/Ctrl + K)
- Concept: How to use a simple instruction (a “prompt”) to create code from a blank slate.
- Guided Exercise: Create a new file index.html. In the editor, type the prompt // a simple hello world webpage with a blue button that says “Click Me” and press Cmd/Ctrl+K. Watch Cursor write the code for you.
2.2: Editing and Improving Code (Cmd/Ctrl + K)
- Concept: How to highlight existing code and ask the AI to change or improve it.
- Guided Exercise: Highlight the button code you just generated. Press Cmd/Ctrl+K and type the instruction “change the button color to green and make the text bold”.
2.3: Chatting with Your Files (@file) and Your Project (@Codebase)
- Concept: How to ask questions about your code. @file focuses on the current file, while @Codebase can see your entire project.
- Guided Exercise: In the Chat panel, type @file index.html What does the <style> tag do in this file?. Then, ask @Codebase How many files are in my project?.
Module 3: Project – Build Your First Interactive Web Page
(Estimated Time: 2 hours)
Learning Objective: Apply the core AI superpowers to build a tangible, multi-file project from start to finish. This reinforces learning and provides a huge confidence boost.
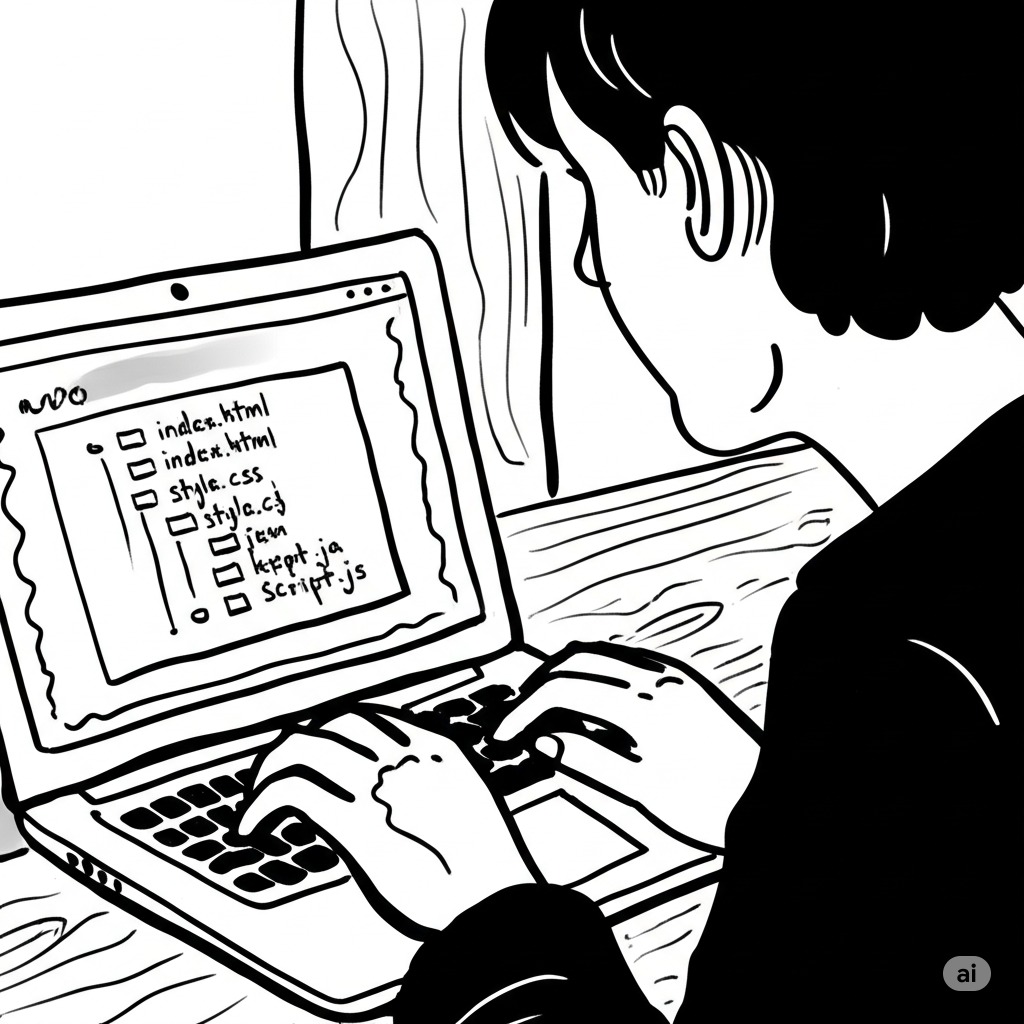
3.1: Scaffolding the Project with AI
- Activity: Use Cursor Chat to create the basic file structure. Prompt: “Create the files for a simple portfolio website: index.html, style.css, and script.js.”
3.2: Building the Structure (HTML)
- Activity: Use Generate (Cmd/Ctrl+K) in index.html to create sections for a header, an “About Me” bio, and a contact form. Prompt: // a header with my name, an about me section, and a simple contact form with name, email, and message fields.
3.3: Adding Style and Personality (CSS)
- Activity: Use AI Edit and Chat to style the page. Highlight the <body> tag in the HTML, press Cmd/Ctrl+K, and prompt “link this to style.css”. Then, in Chat, ask @file style.css suggest a modern, professional color palette and apply it to the page.
3.4: Making it Interactive (JavaScript)
- Activity: Use AI to add a simple interaction. In Chat, ask @file script.js write code so that when the user clicks the contact form’s submit button, an alert pops up that says ‘Thanks for your message!’. Link this file to your HTML using the AI.
Final Project: A functional, styled, single-page website built almost entirely with AI assistance.
Module 4: Becoming a Power User
(Estimated Time: 1 hour)
Learning Objective: Learn advanced features that solve common developer frustrations, like fixing bugs and understanding unfamiliar code.
4.1: The AI Debugger: Fixing Errors Instantly
- Concept: Using the “Fix & Diff” feature to automatically find and repair bugs in your code.
- Guided Exercise: Provide a small piece of broken JavaScript code. Guide the user to click the “Fix & Diff” button and review the AI’s proposed solution.
4.2: Chatting with Documentation (@docs)
- Concept: How to ask questions about programming languages or libraries without ever leaving the editor.
- Guided Exercise: In Chat, ask @docs(mdn) how does the flexbox layout work in CSS?.
Module 5: Best Practices and Your Path Forward
(Estimated Time: 30 minutes)
Learning Objective: Understand how to use AI responsibly and how to continue the learning journey.
5.1: The “Trust, But Verify” Principle
- Discussion: AI is a powerful assistant, not a perfect expert. The importance of reading and trying to understand the code it generates.
5.2: Writing Better Prompts
- Tips for giving the AI clear, specific instructions to get better results.
5.3: What’s Next?
- Guidance on next steps: Using Cursor to learn a new framework (like React), building a more complex project, or contributing to an open-source project.
Key Takeaway: You now have the skills to use a professional-grade tool to build things and learn at an accelerated pace. The barrier to entry for coding has never been lower, and you are now equipped to walk through it.
Example Prompts
Tour Agency landing page
1st prompt
Create a HTML, CSS and Javascript code of a product catalog that shows different tour packages. It has gallery, tour description, pricing, itinerary details and pictures of the guide who’s going to accommodate the tourists. The page will be up on WordPress website.
2nd prompt
1) Add a text section which will show description of the each tours in detail such as inclusions and exclusions. 1-2 paragraph text will go there to give more information
2) Once the user clicks on ‘Book Now’ button, make it so that the user will open a new tab “paypal URL”
3rd prompt
Once i click on the pictures from the gallery, i cannot scroll through the carousel. Fix it
4th prompt
The gallery carousel is not responsive for other tours. It’s only responsive for the first tour “night dining tour”
5th prompt
In the tour guide section with circular picture, add enough space to introduce 2 tour guides instead of just 1
6th prompt
The tour guide section should be under the ‘tour details’ section. It shouldn’t be located right next because the formatting gets too thin
7th prompt
On mobile devices, for each tour guides, make the tour guides details in the ‘tour details’ show for each row instead of showing multiple tour guides in one row.
8th prompt
For the ‘hightlight-tag’, make the tags appear in their own sections. It looks small so make it big by providing its own row
9th prompt
That’s not what i meant. Make the highlight-tag words inside a bubble like before but make it bigger and keep the ‘Highlights’ section on its own row to show it correctly
10th prompt
On desktop, for the tour cards, night dining tour and ultimate food tour is longer with blank spaces. I think it’s compensating for the space because other tour cards are longer than these
11th prompt
Once the user clicks on the ‘Book Now’ button, a toast will show up that says “Please deposit $20 to book a tour”. Make it both desktop and mobile friendly.
12th prompt
For the ‘Book Now’ button and the toast, display a modal “Please deposit $20 to book a tour” and once the user clicks ‘Deposit now’, go to the redirect URL
13th prompt
For each tour cards, in the itinerary ssection, only display 25 words. If the tour card has longer text, add a ‘…see full itinerary’ text that does the same as the ‘View Details’ button
14th prompt
1) Make the guide-info h4 smaller.
2) Make the itinerary-item font bigger.